
Audio
Capturing good quality audio is a critical step in achieving a professional quality production. It is often said that your audience will forgive many of the visual flaws in a production if the sound quality is good, but no matter how good your video looks, if the audio is difficult to listen to, it can tarnish the entire production. Let’s look at some best practices for capturing quality audio.
Proximity and Settings
One of the best ways to ensure clear, quality audio is to ensure the proximity of the microphone is as close as possible to your subject. Most cameras will have an automatic gain setting which will turn up the gain (listen harder) the farther away from the mic your subject gets. The problem with this, is that the increase in gain can cause ambient noise to be recorded as well. Fans, buzzing lights, hallway noise and more all become amplified as well which can result in a cacophony of noise on your audio track. Removing unwanted noise in post-production is NOT an easy task and it’s best to get it right during production.
Try this quick test recording to see the difference proximity makes when recording audio.
If you are using your on-board microphone in your camera here are a few tips to get the best audio possible.
- Keep the camera as close to your subject as possible without compromising your framing and composition.
- Choose a controlled location where you know you’ll have minimal interruptions or outside noise.
- Choose a time of day when there is minimal traffic.
- Ensure the microphone in unobstructed and pointing directly at your subject.
- Do a test recording and play it back using headphones if possible to evaluate your audio quality.
- If you can monitor the audio levels on your camera or device it’s a good idea to do so to ensure you’re not getting audio that is “peaking” or getting to loud or being recorded to softly.
Microphones
If you DO have the chance to use an external microphone you will immediately notice the difference in audio quality. There are several inexpensive options for microphones that commonly work with mobile phones or camcorders and can increase your chances of recording professional quality audio.
Lavalier Mic
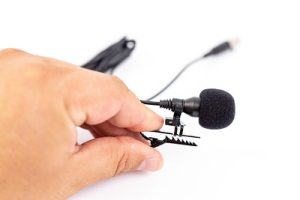
A lavalier (lav mic) is a small, discreet microphone that is clipped onto your subject’s clothing often on the lapel of a jacket or the neckline of a shirt or sweater. Positioning the microphone somewhere between the diaphragm and the throat will capture a please timber of their voice. Because the proximity of this microphone is so close to the subjects voice, it captures a very small pattern of sound which reduces the background noise being captured by your camera. These microphones are ideal for single person interviews, announcements, or talking head narrations.
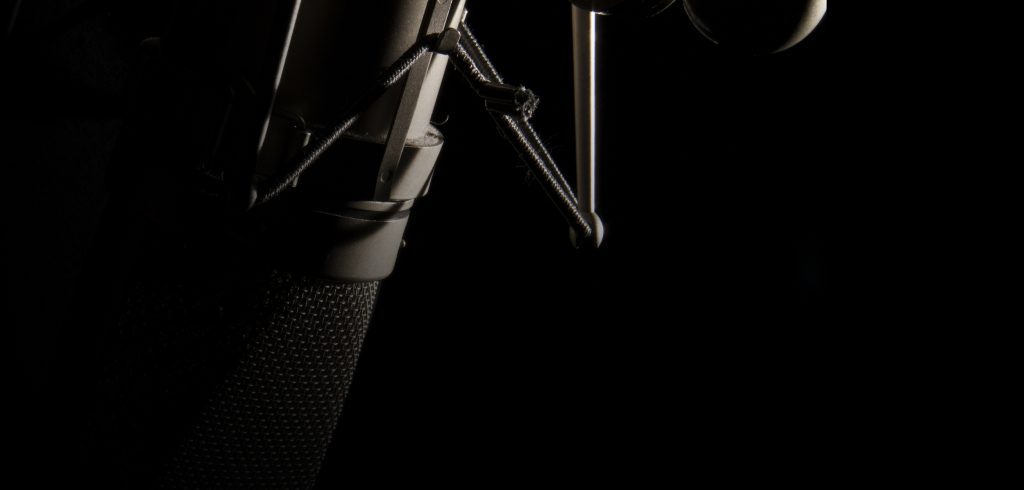
Shotgun Mic
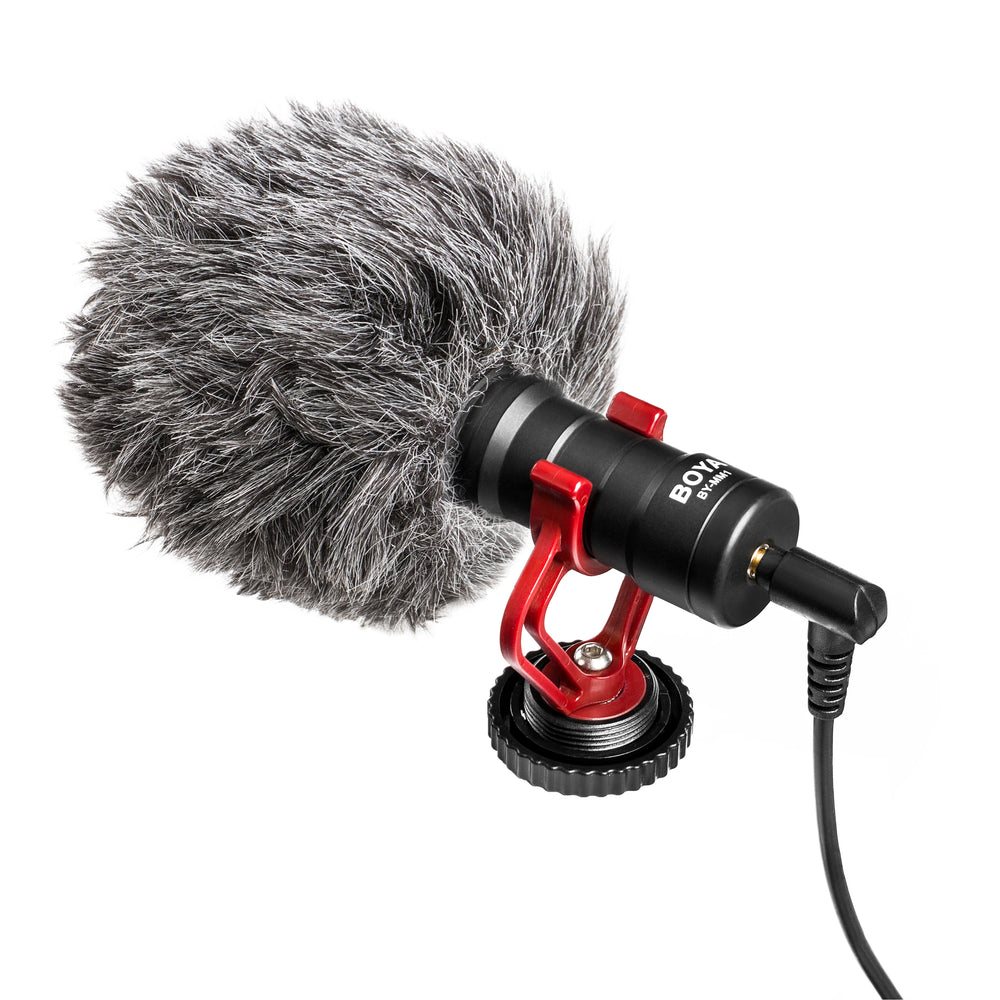
Another type of microphone that can be useful is a shotgun mic. These microphones are very directional in nature and so you can point them very deliberately in a specific direction to isolate a particular sound such as you subject or an instrument or other things. Shotgun mics are a great option if you need to be a little farther away from a subject , but stay aware of what sounds are coming from directly behind your subject as the shotgun microphone’s path of pattern does not discriminate.
Field Recorder
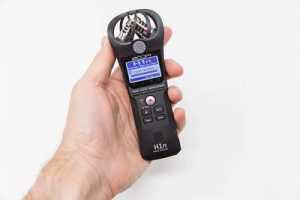
Marco Verch via Flickr CCBY
A third option for recording quality audio is to use a separate field recorder. Utilizing a separate audio recorder such as this gives you a few advantages, but also comes with some additional work.
Advantages:
- Typically allow for manual control and monitoring of audio.
- Can be positioned separately from the camera allowing for more diverse framing and composition options.
- Audio file quality typically records much higher quality audio that your phone or camcorder is capable of.
Disadvantages:
- Separate audio files must be “married” or synced back up with video footage in post production.
- Another device to keep charged and to manage.
- Some additional technical skills required.
